
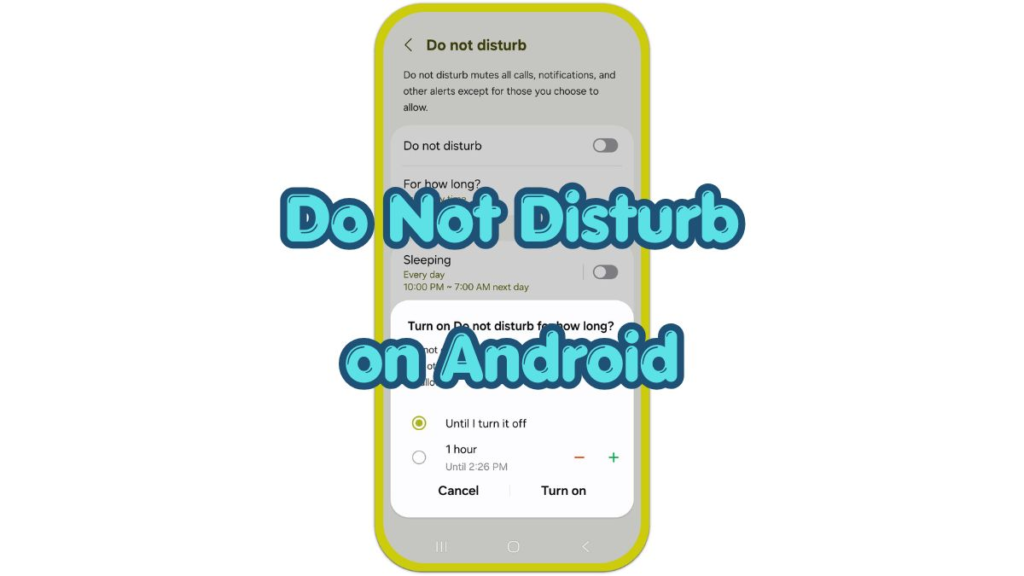
Introduction
Do Not Disturb on Android keeps calls, alerts, and notification sounds quiet when you need fewer interruptions. It helps at night, during work, in class, in meetings, or any time the phone keeps pulling attention away.
The setting does not shut down the phone or block every function. Alarms, chosen contacts, repeat callers, messages, apps, and schedules depend on the exceptions you choose.
The confusing part is the menu location. Some Android phones place the control under Notifications, while others use Sound, Modes, Quick Settings, or a similar quiet-time menu.
Turn on the main switch first, then check exceptions and schedules so quiet time does not block alerts that still matter.
Step-by-Step Guide: Do Not Disturb on Android
Step 1: Open the Main Setting
Open Settings and look for Notifications, Sound, or Modes. Tap Do Not Disturb when the option appears.
Use the Settings search bar when the menu does not appear right away. Type do not disturb, then open the matching result. Android brands arrange this feature differently, so search often reaches the correct page faster than scrolling through every menu.
Step 2: Turn On the Switch
Turn on the switch from the setting page. The phone enters quiet mode right away, and some devices show a small icon in the status bar or Quick Settings area.
Use the Quick Settings tile when you need faster control later. Swipe down from the top of the screen, find the tile, then tap it to turn quiet mode on or off.
Step 3: Choose Allowed Interruptions
Open the People, Apps, Alarms, or Exceptions section inside the same menu. Choose which calls, messages, alarms, reminders, or apps still reach you.
Keep only the alerts you truly need during quiet time. For example, keep calls from favorite contacts, repeat callers, alarms, or one important messaging app while leaving other notifications silent.
Step 4: Set a Schedule
Open Schedules, Automatic rules, or Turn on automatically. Choose a bedtime, work, meeting, or custom schedule, then set the start time and end time.
Check the selected days before saving the rule. A weekday schedule does not run on weekends, and a bedtime rule does not help during a meeting unless you create a separate rule for that time.
Step 5: Test the Behavior
Turn on quiet mode, then test one notification or one call from a trusted contact. Check whether the phone stays silent, vibrates, shows banners, or allows the selected exception.
Return to the same setting page when the result feels wrong. Most problems come from an allowed contact, an app exception, a visual notification setting, or a schedule that does not match the current day and time.
Troubleshooting
Troubleshooting 1: Calls Still Ring
Check the allowed people or calls section first. A contact, favorite list, repeat caller option, or call exception often explains why the phone still rings during quiet mode.
Open the contact exception list and remove anyone who does not need access. Then test again with the same caller so you know the change worked.
Troubleshooting 2: Notifications Still Appear on the Screen
The setting controls sound and vibration first, but visual alerts need a separate check on some phones. Open the display or visual interruption option inside the same menu.
Turn off lock screen pop-ups, banners, notification dots, or wake-screen behavior when you want the phone to stay quiet visually as well. This matters at night because a silent notification still distracts you when the screen lights up.
Troubleshooting 3: The Schedule Does Not Start
Open the schedule or automatic rule and check the start time, end time, selected days, and rule switch. A schedule does not run when the rule stays off or you chose the wrong day.
Check the phone time and active mode as well. Match the manual quiet setting and the automatic schedule to the same quiet time.
Extra Section 1: When Quiet Mode Works Best
The setup works best when you know which interruptions deserve access. Bedtime usually needs alarms and emergency callers. Work time often needs calendar alerts, a few people, or one messaging app. Study time works better with almost everything silent.
One setup rarely fits every situation. Create a simple quiet setup first, then adjust exceptions after you notice which alerts still matter in real life.
Extra Section 2: Why Android Phones Show Different Menus
Android phone makers use different menu names for the same basic feature. One phone might place it under Notifications, while another phone uses Sound, Modes, Quick Settings, or an automatic rule screen.
A different path does not mean the feature is missing. Search Settings for Do Not Disturb, quiet mode, modes, or notification interruptions when the menu name looks different from another phone.
Additional Tips
Quiet mode works better after you keep the exception list short. Too many allowed contacts or apps make the setting feel broken even when it works correctly.
Use separate schedules for sleep, work, and meetings when each quiet period needs different alerts.
Check visual alerts when the phone stays silent but still lights up. Sound, vibration, banners, and lock screen behavior do not always follow the same control.
Final Notes
Do Not Disturb on Android works best when the main switch, exceptions, visual alerts, and schedules all match the quiet time you want.
When it fails, check allowed callers, app exceptions, visual interruptions, and automatic rules before changing unrelated sound settings. Those areas explain most cases where the phone still rings, lights up, or misses the expected schedule.
Checklist
- Open Settings and search for Do Not Disturb.
- Turn on the main switch from the setting page.
- Choose allowed calls, messages, alarms, and apps.
- Create a schedule for bedtime, work, or meetings.
- Check visual alerts when the screen still lights up.
- Test the setting with one call or notification.