
Introduction
Before a reset, repair, trade-in, or replacement, back up your Android phone to protect photos, videos, contacts, messages, app details, and phone settings.
Android stores different types of data in different places. Google backup saves device-related data such as contacts, call history, messages, Wi-Fi settings, and some app details. Google Photos handles photo and video uploads separately.
Most problems come from a wrong Google Account, full cloud storage, weak Wi-Fi, or photos that have not finished uploading. A setting that looks turned on does not always mean every recent file has already reached the account.
Step-by-Step Guide: Back Up Your Android Phone
Step 1: Check Your Google Account
Open Settings on the Android phone and go to Google, Accounts, or Accounts and backup. The exact menu name depends on the phone brand, but the phone usually saves data to the Google Account signed in on the device.
Check that the correct Google Account appears on the phone. Use the account where you want contacts, settings, messages, photos, and app details to stay linked. Add it first if it is missing.
Check this before turning on any option. A phone with the wrong account signed in saves data to a place you do not use, which makes the restore process confusing later.
Step 2: Turn On Google Backup
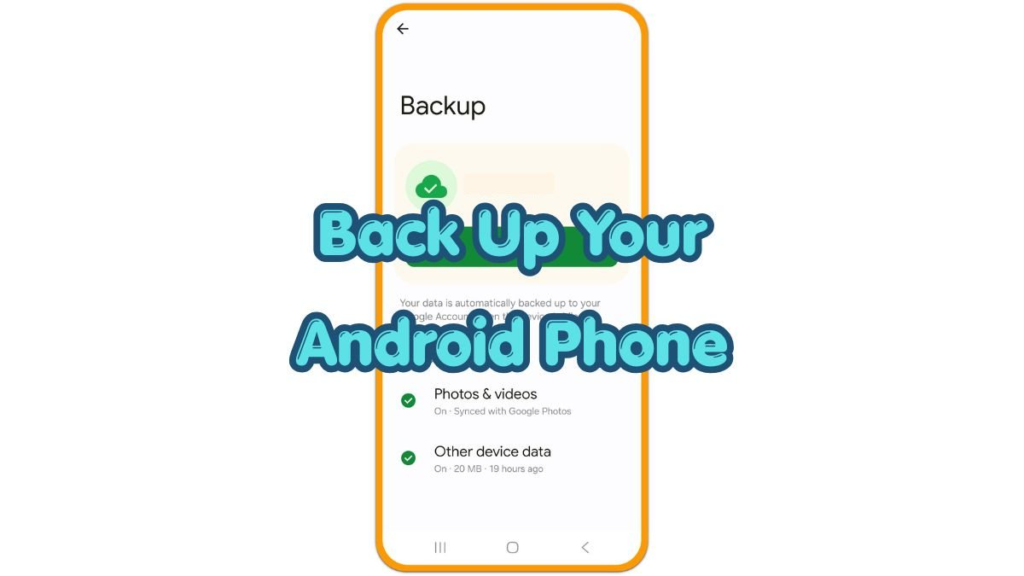
Open the backup menu from Settings. On many Android phones, go to Google, then Backup. On some Samsung phones, the path appears under Accounts and backup or a similar menu name.
Turn on Google backup and let the phone save device data to the signed-in Google Account. The page usually covers items such as contacts, call history, messages, Wi-Fi settings, and some app-related details, depending on the phone, app, and Android version.
After turning it on, return to the same page and check the account name and last saved time. Keep the phone connected to Wi-Fi and power when the first run includes a large amount of data.
Step 3: Turn On Google Photos Backup
Open the Google Photos app and tap the profile icon at the top-right corner. Open Photos settings, then Backup, and turn on photo and video backup.
Check the account shown inside Google Photos. It should match the one you want to use for photo storage. Choose the upload size that fits your storage needs, then return to the main Photos screen and check the message near the top.
If the app shows Backup complete, the current photo upload has finished. If it shows items waiting, leave the phone on Wi-Fi and keep enough battery available until the remaining files finish uploading.
Troubleshooting
Troubleshooting 1: Backup Does Not Start
The process fails to start when the phone has no stable internet connection, the Google Account needs a fresh sign-in, or battery restrictions stop the upload in the background.
Connect to Wi-Fi first and open the same page again. Check the Google Account, then restart the phone if the page looks stuck or does not update after several attempts.
For large uploads, keep the phone charging and avoid closing the screen too quickly. The first run often takes longer than later ones because the phone has more data to prepare.
Troubleshooting 2: Google Photos Stays Waiting For Wi-Fi
Google Photos often waits when you choose Wi-Fi-only uploads. This setting helps avoid mobile data use, but it also stops photos and videos when the phone stays on mobile data.
Connect to a Wi-Fi network and open Google Photos again. Check the message at the top of the app and leave the phone awake for a short time if many photos or videos still need to upload.
Large videos, weak Wi-Fi, and low battery also slow the process. Charge the phone and check again later before changing too many settings at once.
Troubleshooting 3: Google Account Storage Is Full
Photo and video uploads stop when the Google Account storage is full. The phone still shows the setting as turned on, but new items stay on the device until storage becomes available again.
Open Google Photos or Google One and check the storage page. Remove large videos, old screenshots, duplicate photos, and files you no longer need.
After freeing space, return to Google Photos and check again. The app needs a little time before it starts uploading the remaining items.
Extra Section 1: When You Are Switching To A New Android Phone
A backup becomes most useful when you move to a new phone. Signing in with the same Google Account helps the new device bring back saved contacts, messages, settings, and some app details during setup.
Check the old phone before starting the transfer. Confirm the last saved time, open Google Photos, and make sure important photos already show as backed up. This prevents a rushed setup where the new phone starts before the old phone finishes uploading.
Keep both phones charged during the move. A stable Wi-Fi connection also helps the restore process finish with fewer missing items.
Extra Section 2: When Photos Take Too Long To Back Up
Photo backup often takes longer than device backup because videos and high-resolution images use more space. A phone with years of photos often needs several hours or more before Google Photos finishes.
Use Wi-Fi and power first. Then check whether large videos, screen recordings, or downloaded images are slowing the upload. Removing files you do not need helps the process finish faster and keeps cloud storage easier to manage.
Avoid changing accounts during the process. A saved copy split across multiple accounts becomes harder to check later, especially when you need to restore photos on a new phone.
Additional Tips
Use one main Google Account whenever possible. Keeping device data and Google Photos under the same account makes the restore process easier to understand.
Check the latest status before a factory reset, repair visit, trade-in, or phone upgrade. Turning on a setting months ago does not always mean the newest files have finished uploading.
Keep the phone connected to Wi-Fi and power during large uploads. Background restrictions, weak battery, and poor network signal often delay the first saved copy.
Review Google Photos storage regularly. Old screenshots, duplicate images, and large videos fill cloud space faster than normal phone settings.
Final Notes
Back up your Android phone with the same Google Account, Google backup, and Google Photos before you reset, repair, replace, or trade in the device.
Check the account first, turn on Google backup second, and confirm Google Photos last. Once all three parts work together, the phone becomes easier to restore after loss, damage, reset, or replacement.
Checklist
- Check the correct Google Account on the phone.
- Open the Android backup menu in Settings.
- Turn on Google backup for device data.
- Open Google Photos and turn on photo backup.
- Check the upload size and photo storage account.
- Confirm the latest status before resetting or replacing the phone.