
Introduction
Android charging stopped becomes noticeable when the battery percentage stays at the same number while the phone remains plugged in. The charging icon appears, but the battery level does not rise.
The percentage stops at one point instead of rising little by little. Start with that stopped point. Check the cable connection, charging status, and battery screen before you change the setup.
Step-by-Step Guide: Android Charging Stopped
Step 1: Check The Charging Connection First
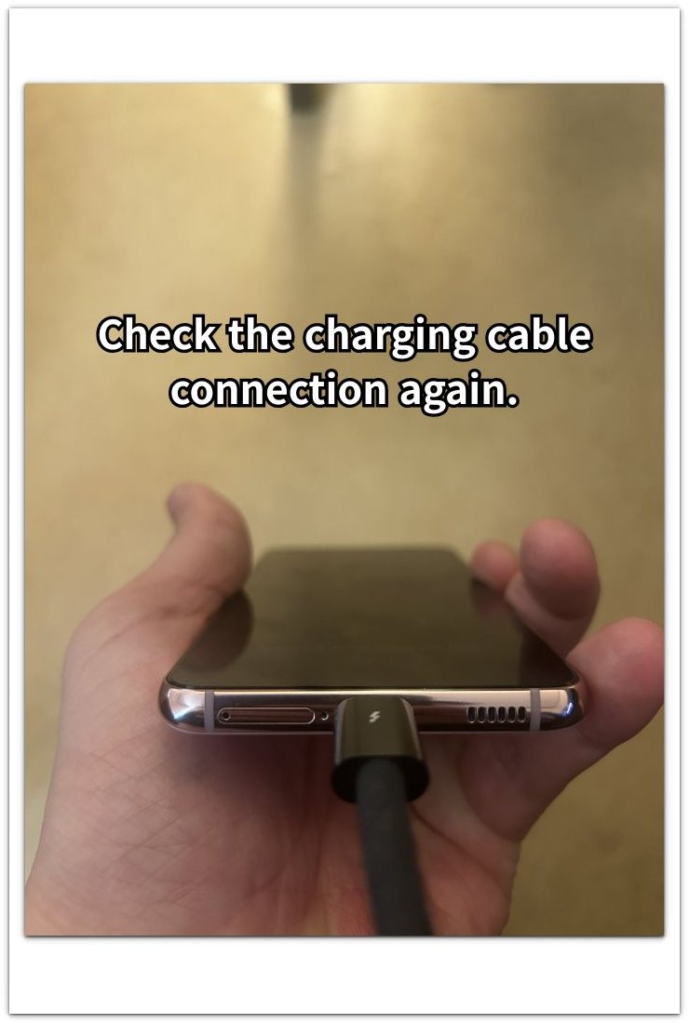
Keep the phone plugged in and look at the charging port, cable head, and outlet connection before changing anything else. A cable that looks connected from a distance still needs a firm angle and clean contact.
Unplug the cable once, connect it again firmly, and leave the phone on the charger for a short time. Keep this first check focused on the connection, not a different charger or outlet.
Step 2: Read The Charging Status On The Screen
Turn on the screen and check what the phone shows near the battery icon or lock screen. Look for a clear status instead of only checking whether the cable attaches properly.
Stay on this screen long enough to see whether the percentage moves. An icon with no rise shows that the phone keeps a connection without gaining power normally.
Step 3: Check The Battery Screen Before Changing The Setup
Open Settings → Battery and check the current battery level, recent line, and any warning shown on that screen. This gives you a cleaner result than only looking at the home screen.
Change only one part of the setup at a time. Try another cable, charger, or wall outlet separately, then compare whether the battery level starts rising again.
Troubleshooting
Troubleshooting 1: Android Charging Stopped Even After You Plug The Cable In Again
The phone still shows an icon after you plug the cable in again, but the battery level does not rise. Move past the cable connection and watch the battery screen instead of the icon alone.
Leave the phone plugged in for a few more minutes. A flat line means the phone is staying connected without gaining charge. Change the charger first, then test the outlet separately so one weak part does not hide behind the others.
Troubleshooting 2: Battery Stops At One Level
The battery level rises for a while, then stops and stays there. This is different from a cable that fails right away because the phone accepts charge first.
Open Settings → Battery and check whether any charging limit, battery protection, or adaptive charging setting is active. Turn off only the limit setting for one test, then plug the phone in again and see whether the battery rises past that point.
Troubleshooting 3: Phone Feels Warm While Plugged In
The battery level stops rising while the phone feels warm near the back or charging area. Heat matters because the phone slows or pauses to protect the battery.
Take the case off, move the phone away from bedding or direct heat, and leave the screen off for a short test. Check the battery screen again after the phone cools down. A rise after cooling points to heat, not only the cable or charger.
Extra Section 1: The Phone Looked Connected But The Battery Stayed Flat
The phone looked like it had started charging because the cable had a firm connection and the charging icon stayed on the screen. Nothing looked loose from the outside, so the problem did not seem like a simple unplugged cable.
After a few minutes, the percentage stayed at the same number. The icon made it look active, but the battery screen showed a flat result instead of a normal rise.
Use that flat result to stop trusting the icon alone. The icon shows a connection, but the battery screen shows whether power is actually going into the battery.
Extra Section 2: The Charge Stopped After The Battery Reached One Level
The battery started rising at first, so the charge did not fail right away. The phone accepted power for a while, then the percentage stopped at one level and stayed there.
This kind of stop feels different from a loose cable. A bad connection usually shows up early, but a charge that stops later points more toward a limit setting, heat, or the phone slowing the charge near that level.
The order matters more than the icon here. A battery that rises first and stops later needs a different check from a phone that never gains charge from the start.
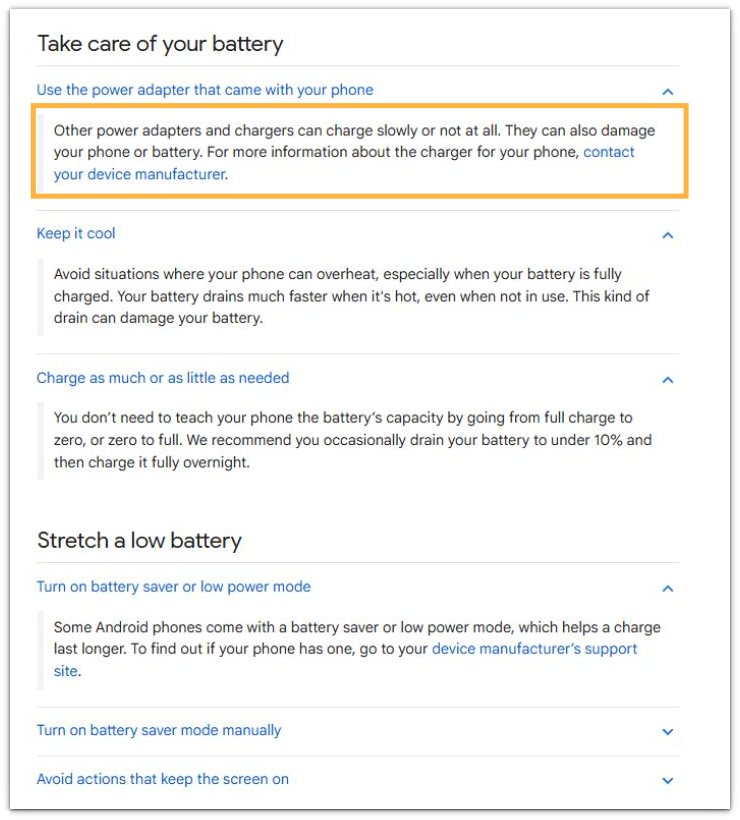
Official Source: Google Explains Charger And Heat Limits
Google explains that some power adapters and chargers charge slowly or do not charge the phone at all. Heat can also affect charging, so check the charger power and phone temperature before replacing the battery.
Additional Tips
A charger that worked for another device is not always strong enough for this phone. Use the phone’s normal wall charger for the next check instead of judging only by whether the cable fits.
Laptop, car, and weak USB ports often give less power than a wall charger. A wall outlet gives a cleaner result when the battery percentage has stopped moving.
Very thick cases often hold heat around the area. During one short test, removing the case helps separate a heat pause from a weak charger result.
Final Notes
Android charging stopped needs a battery screen check, not only a charging icon check. The icon matters less when the percentage stays flat, rises too slowly, or stops at one level.
The strongest check is simple: confirm the connection, read the charging status, then compare one cable, charger, or outlet change at a time. When the battery starts rising again after one part changes, keep that part in the setup and stop changing other parts for that test.
Checklist
- Check the cable connection before changing the charger.
- Read the charging status on the screen, not only the icon.
- Open Settings → Battery and compare the battery level again.
- Change only one part of the setup at a time.
- Use a wall outlet when USB charging looks too weak.
- Let the phone cool down when the battery stops rising while plugged in.
For a broader charging problem, check the Android slow charging guide next.