
Introduction
Screen recording becomes confusing when you cannot find the button, the countdown starts too fast, or the saved video has no sound. Beginners often open the Camera app first, but Android keeps this feature inside Quick Settings.
The problem feels worse when the tile is missing, microphone audio stays off, or the recording stops too early. Some apps also show a black screen because they block it for security.
This guide keeps the screen recording process in a simple order. Use it when you want to record a tutorial, save app actions, or show a phone problem clearly.
Step-by-Step Guide: Screen Record on Android
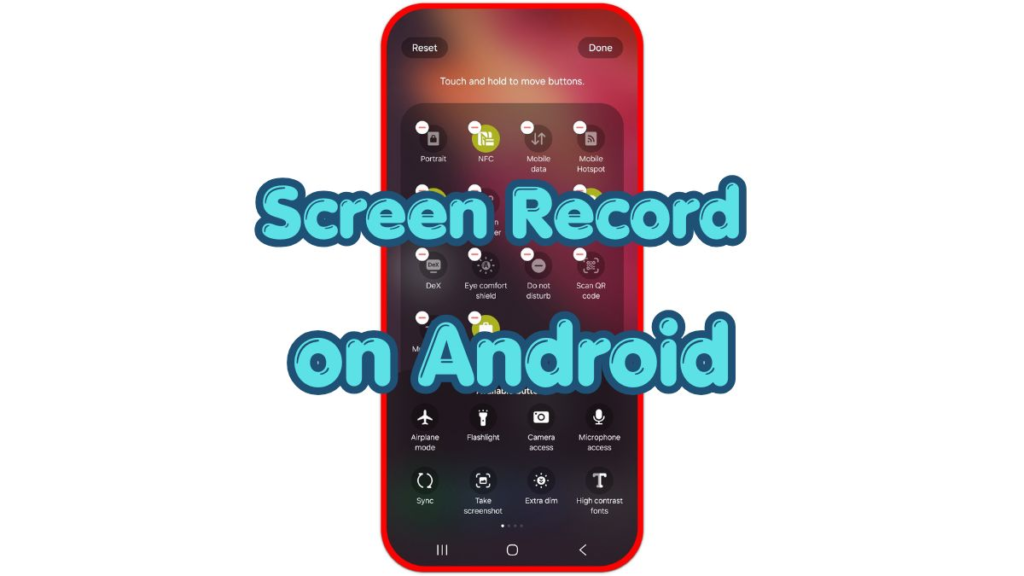
Step 1: Open Quick Settings And Find Screen Record
Swipe down from the top of the screen to open Quick Settings. Swipe down again when you only see a short row of buttons.
Look for Screen Record or Screen Recorder. Android brands use different names, but the tile usually sits near Wi-Fi, Bluetooth, Flashlight, or similar quick buttons.
Tap the pencil icon, Edit button, or three-dot menu when the tile does not appear. Drag Screen Record into the active Quick Settings area, then return to the main panel before starting.
Step 2: Choose Audio Options Before Starting
Tap Screen Record and wait for the options to appear. Check the audio setting before you tap Start, because the phone uses that choice.
Choose device audio when you want the phone’s sound in the video. Choose microphone when you want your voice to explain the steps. Choose both only when the phone offers that option and you need app sound and voice at the same time.
Turn on taps or touch indicators only when they help the viewer follow your actions. For a clean recording, keep the screen simple and remove private notifications before the countdown begins.
Step 3: Start, Stop, And Check The Saved Video
Tap Start and wait for the countdown to finish. After recording begins, move through the steps slowly so the final video shows each action clearly.
Stop from the notification shade or the floating control, depending on your phone. Most phones save the video to Gallery, Photos, or a Screen recordings folder.
Open the saved video right away and check sound, movement, and the first few seconds. Record again before deleting the first file when the audio is missing, the screen is black, or you missed an important step.
Troubleshooting
Troubleshooting 1: Screen Record Tile Is Missing
Open Quick Settings edit mode and check the hidden tile list. Many Android phones keep Screen Record outside the main panel until you move it into the active area.
Restart the phone when the tile still does not appear after editing Quick Settings. On older Android versions or some work-managed phones, the built-in recorder does not appear in the normal panel.
Troubleshooting 2: Screen Recording Has No Sound
Check the audio option before starting the next recording. A video stays silent when you do not choose microphone audio or device audio before the countdown.
Raise media volume when you record device sound. Keep the microphone uncovered when you record your voice, and test a short file before making a long tutorial.
Troubleshooting 3: The Video Shows A Black Screen
A black screen usually means the app blocks screen recording for privacy or security. Banking, payment, streaming, and protected content apps often limit what the recorder shows.
Record only the allowed screens and explain the blocked part with normal steps instead. Use screenshots, written notes, or a support message when the app prevents recording.
Extra Section 1: Audio Choices Before Screen Recording
Audio settings decide whether the final video feels useful or confusing. A tutorial usually needs microphone audio, while a game clip or app demo often needs device audio.
A quiet room helps microphone recording sound clearer. For device audio, check media volume before starting so the saved video does not sound empty or too loud.
Extra Section 2: Privacy Checks Before You Record
Recording captures more than the app you want to show. Messages, email previews, names, photos, and account details appear in the video when they pop up during recording.
Use Do Not Disturb before recording a tutorial or problem report. Close private apps, return to the correct screen, and start only after the display shows what you want to share.
Additional Tips
A short test clip helps you catch audio problems before recording a long tutorial. Check the sound, movement, and saved file first, then start the full recording after the phone saves the test file correctly.
Leave small pauses between taps when you explain steps on screen. Viewers follow the video more easily when each menu change stays visible for a moment before the next action begins.
Use microphone only when your voice needs to explain the screen. For a clean app demo, device audio or silent recording often works better than background room noise.
Final Notes: Screen Record on Android
A clean screen recording starts before the countdown. Find the Screen Record tile, choose the right audio option, and check the saved file before sharing it.
Use screen record on Android for tutorials, app steps, and problem reports, but keep private information off the screen. When an app blocks recording, treat the black screen as a security limit instead of a phone failure.
Checklist
- Open the full Quick Settings panel.
- Move Screen Record into the active panel if it is hidden.
- Choose device audio, microphone audio, or both before starting.
- Wait for the countdown before moving through the steps.
- Stop from the notification shade or recorder control.
- Check the saved video before sharing it.